
Introduction
Adobe Captivate’s newest launch supplies enhanced instruments for constructing customized eLearning content material, together with a strong characteristic. These options can be utilized to design interactive tables. These tables may be custom-made to show photos, buttons, and different dynamic components, creating a fascinating consumer expertise. Right here, we’ll stroll by creating two varieties of interactive tables in Adobe Captivate. These codecs are perfect for including visible enchantment and performance to your coaching modules.
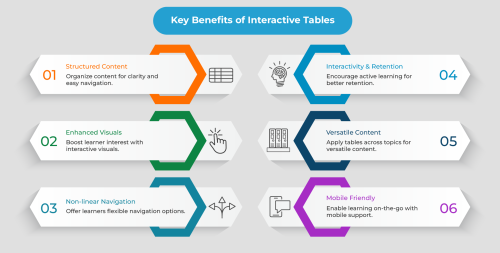
Why Use Interactive Tables?
Interactive tables in Adobe Captivate assist show content material in a structured and visually partaking format. They permit learners to work together with the content material in a non-linear method, offering a hands-on expertise. Options like Picture Grid and Button are notably helpful for creating partaking interactive tables.
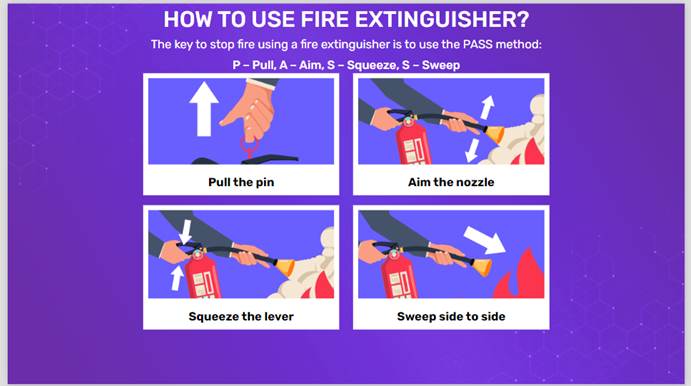
Creating an Interactive Desk Utilizing Picture Grid
This interactive desk is basically a grid of photos that learners can click on on to view extra info or navigate to totally different sections. This kind of desk is good for visible studying and is often utilized in product catalogs, worker directories, or any visual-based content material.
Step-by-Step Information to Constructing an Interactive Desk Utilizing Picture Grid
1.Open Adobe Captivate and Begin a New Mission
-
- Begin with a brand new slide or select an present slide the place you need to place the interactive desk.
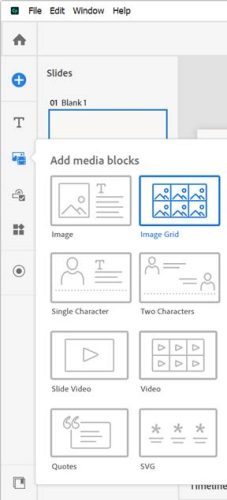
2.Insert the Picture Grid Widget
-
- Within the toolbar, navigate to the asset panel and choose the Picture Grid from the record of media blocks. You’ll see placeholders the place you possibly can insert your photos.
3.Add Photos to the Grid
-
- Click on on every placeholder so as to add photos. Adobe Captivate means that you can alter the scale of every grid cell to suit your photos.
- Guarantee every picture is optimized for net show, as high-resolution photos can decelerate the loading time.

4.Customise Grid Settings
-
- You’ll be able to alter the variety of rows and columns, the spacing between photos, and the alignment. This customization means that you can align the grid along with your content material’s structure and design.
5.Set Actions for Every Picture
-
- Adobe Captivate lets you add actions to every picture. For instance, you possibly can add a click-to-reveal motion that shows extra info when a picture is clicked or hyperlink it to a different slide or an exterior URL.
- So as to add actions, choose a picture, then go to the interactions, and select an motion (like “Go to subsequent slide” or “Set state“) underneath the interactions tab.
- Preview and Take a look at
- Preview the slide to make sure the grid capabilities as anticipated. Be certain that every picture is clickable and that any linked actions work correctly.

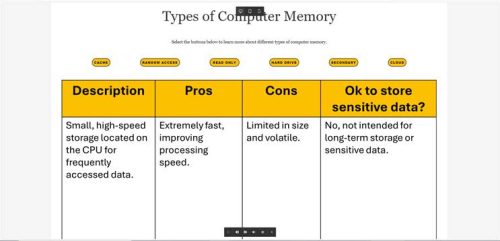
Creating an Interactive Desk Utilizing Button
A desk with interactive buttons triggers varied actions. That is notably helpful for offering learners with navigational choices or interactive assessments inside the course.
Step-by-Step Information to Constructing an Interactive Desk Utilizing Button
1.Begin with a New Slide or Choose a Slide
- Begin by creating or selecting the slide the place the interactive desk can be positioned.
2.Create the Desk Format Utilizing Buttons
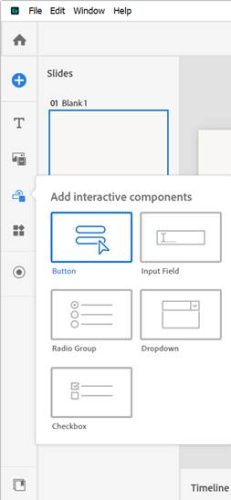
- From the asset panel’s interactive parts, select Button and place the buttons in your slide. You’ll be able to organize buttons in rows to create a structured desk look.
- Alter the scale of every button to suit your desired structure.
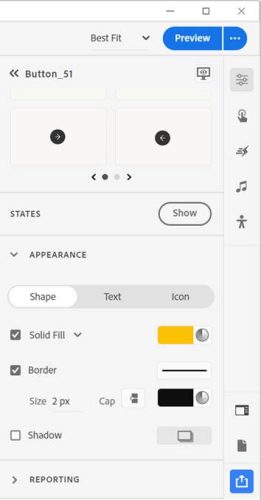
 3. Customise Button Textual content and Styling
 - Click on on every button to customise its textual content. For instance, you possibly can label every button with the names of sections, classes, or different actions.
- Use the Visible Properties Inspector to alter button colours, fonts, and sizes. Constant styling will make the desk look cohesive.
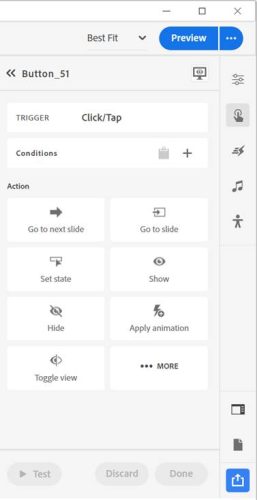
4. Assign Actions to Every Button
- Choose a button, then go to the motion tab within the interactions.
- Select an motion for every button, similar to Go to subsequent slide, Open URL or file, Play Media, and so forth.
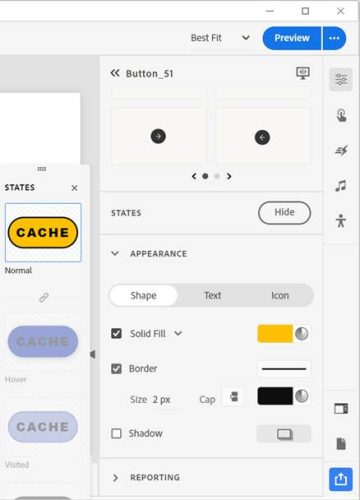
5.Add Visible Suggestions for Button Clicks
- Adobe Captivate affords states and animations, similar to hover results, which you need to use to make every button reply visually when clicked. This helps learners perceive which button they’ve chosen and improves interactivity.
6.Preview and Alter
-
- Take a look at the interactive desk with button by previewing the slide. Make sure that all buttons work as supposed and that their actions are appropriately arrange.
Finest Practices for Creating Interactive Tables
- Consistency in Design: Use uniform colours, fonts, and sizing throughout all desk components to keep up visible consistency.
- Use Clear Labels: Be certain that every button or picture is labelled in a method that’s intuitive for learners, serving to them navigate simply.
- Take a look at Throughout Units: Interactive tables must be examined on varied units, as Captivate helps responsive design, and components would possibly seem in a different way on cellular versus desktop views.
- Preserve Accessibility in Thoughts: Adobe Captivate helps accessibility options like keyboard navigation and display screen reader compatibility. Make sure that every interactive component is accessible to all customers.
Conclusion
Creating customized interactive tables in Adobe Captivate is a unbelievable solution to interact learners by including interactive visible components. Each the desk with Picture Grid and Button can add important worth to your eLearning initiatives, offering straightforward navigation, visible enchantment, and interactive studying alternatives. We now have demonstrated the desk by utilizing Picture Grid and Button, you possibly can discover extra choices to do the identical. Bear in mind to preview and take a look at these tables to make sure easy performance throughout units and platforms. With these instruments, you’re well-equipped to raise the consumer expertise in your Adobe Captivate initiatives.